
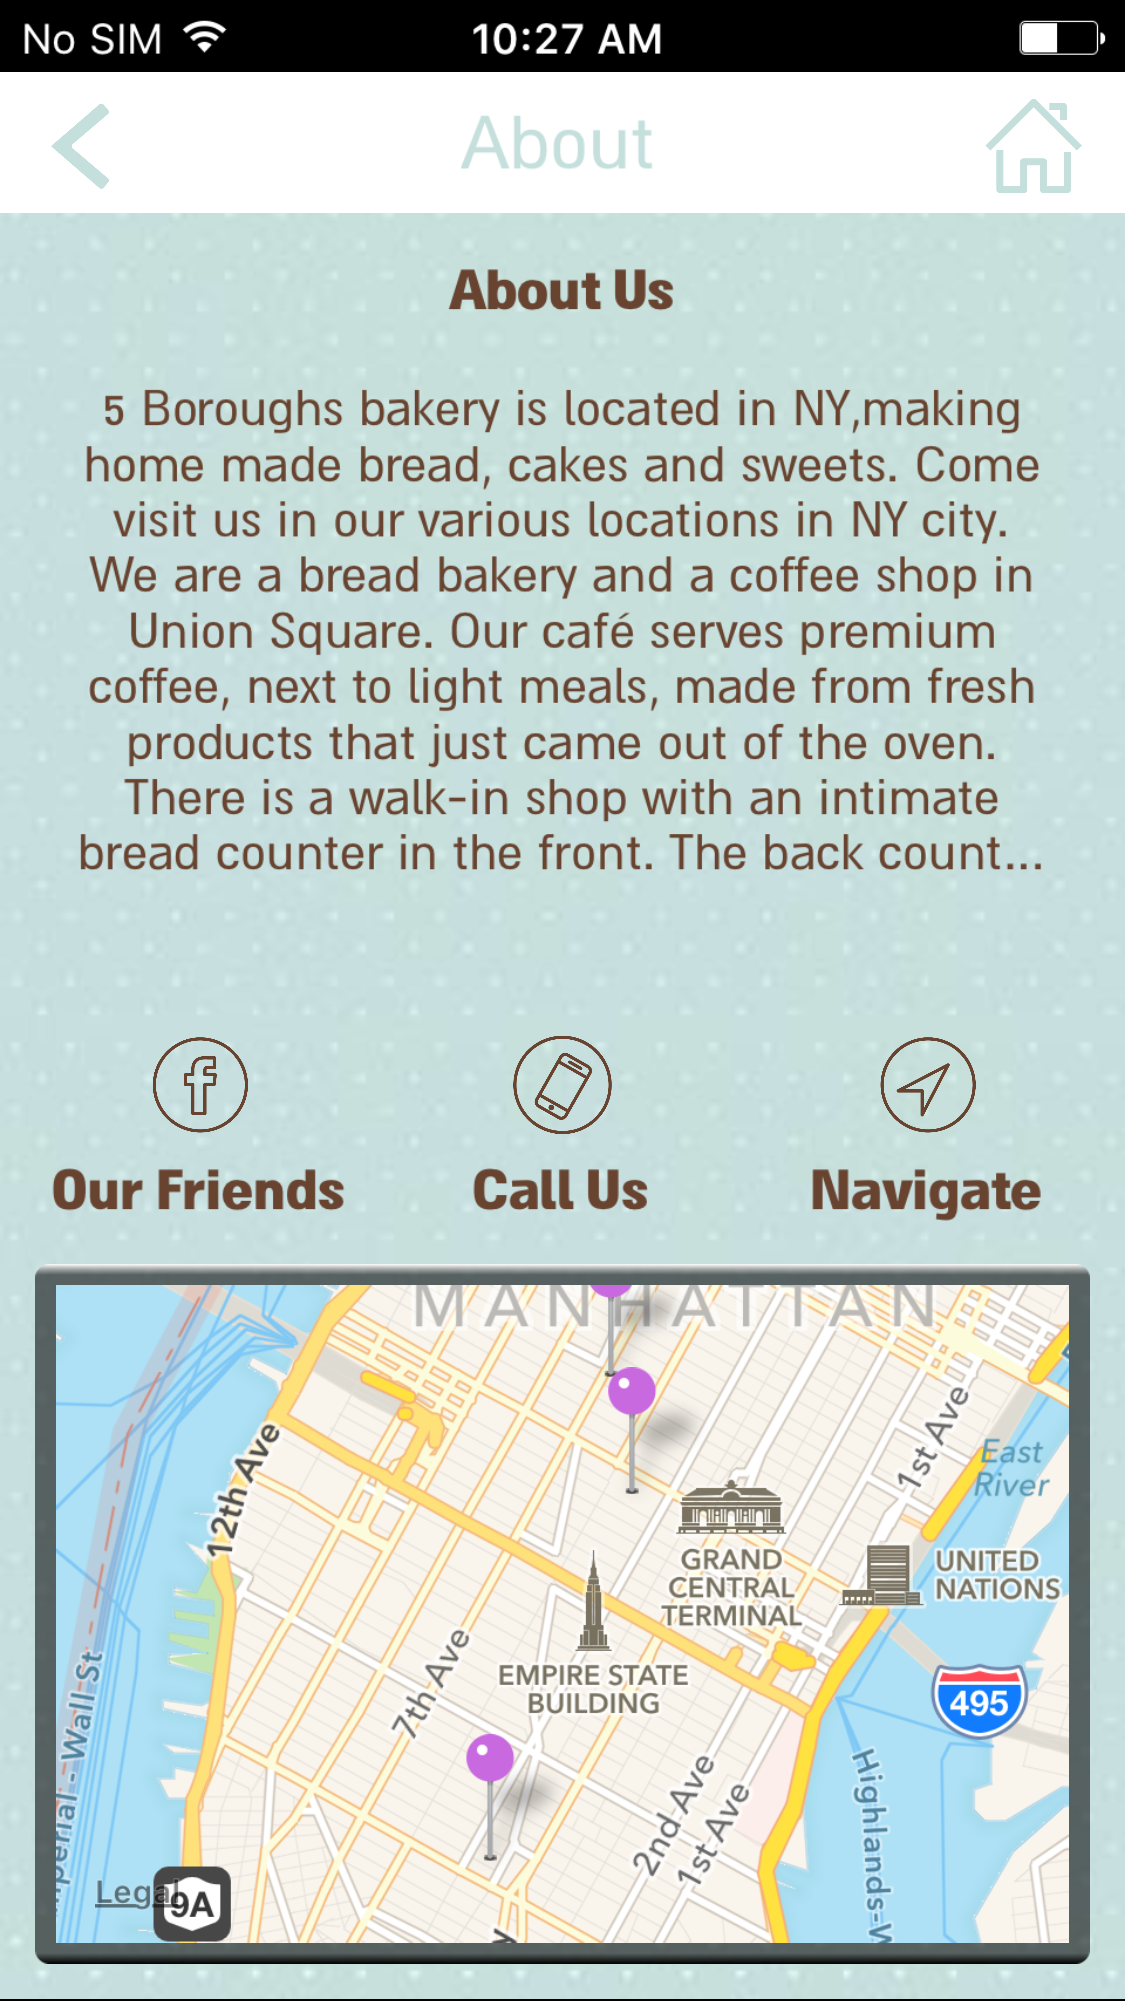
The business details from the General Info page appear on the Info Screen in your app. The Info Screen can also be used to call, navigate and send feedback to the business. Depending on the layout you choose, it can also display a photo gallery, map of your locations, an Updates tile, and other custom tiles that you can add.
NOTE: Most of this page should have already been filled out from the Introduction step of the app creation wizard. Fill out any missing details or change details as you see fit.
To add general info
- From the Content tab, click Information and then General Info.
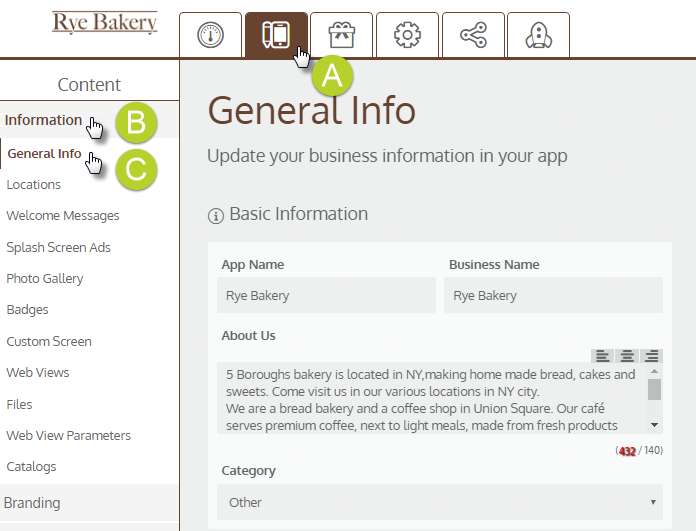
- Enter your business information.
Field Description App Name We recommend using a shorter version of your business name, such as "Lily's" instead of "Lily's Flower Shop". Business Name Enter your full business name. About Us This is the main description of your business that appears on the Info Screen. Enter what you'd like customers to know about your business, such as opening hours or general details. Category Select a category that best suits your business. 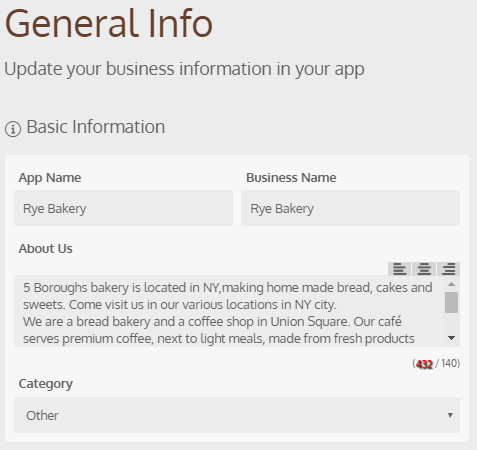
- Enter your contact details.
Field Description Email Enter your email address to allow members to contact you. Feedback that members send through the app is sent to this email address. Country Code To set your country code, select your country from the list. For example, if you're based in the UK, select United Kingdom and your country code will be set to +44. Phone Number Add your primary customer service phone number. If your business has multiple locations, you'll be able to enter a different number for each location when you add your business locations. Text Messages (SMS): "From" Number or Name Ignore this field. The SMS sender name can be set from Operation > Settings > External Services. 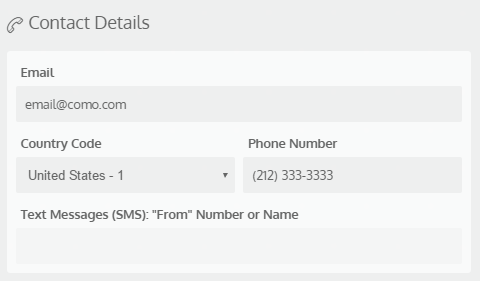
- Enter your web & social presence details.
Field Description Facebook Page Enter the full URL of your Facebook fan page (such as https://www.facebook.com/como)—so all the social features in your app work properly. For example, a Facebook button can open this page from the Info Screen, a Facebook tile can be added to any screen of the app, or you can add content from this page via a Social Feed. Website Enter the full URL of your business website (such as http://www.como.com). Instagram Page Enter the full URL of your Instagram page, if you have one (such as http://instagram.com/como) Facebook Share Link When members share items from your app on Facebook, the posts on Facebook open a specific web page when clicked. Enter a default web page to which all Facebook shares will lead (such as your business website, your Facebook page, or your app download page in the app store).
Note: You can later override this default for each item separately.Web View Title/URL Ignore these fields. Web views should be added from the Web Views page from the side menu instead. 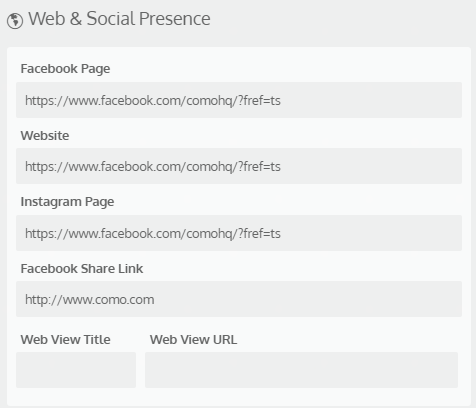
- Click Save.