
Using special custom screens, you can specify the custom buttons that appear in the following places:
- Header (up to 1 custom button, plus Home Screen button)
- Side Menu (1-7 custom buttons)
- Navigation Bar (at least 3 custom buttons)
- Profile Widget (up to 1 custom button, 1 points button and 1 credit button)
- Tiles Widget (1-3 custom buttons)
NOTE: These custom screens are used only to define the buttons (name, action, icon). The layout is irrelevant.
To specify these buttons
- From Content > Layout > Layout Blocks, create layout blocks for your buttons (if required).
NOTE: Only choose actions supported by the new app. - From Content > Layout > Custom Screens, click Add New.
- Enter a screen name (for internal use).

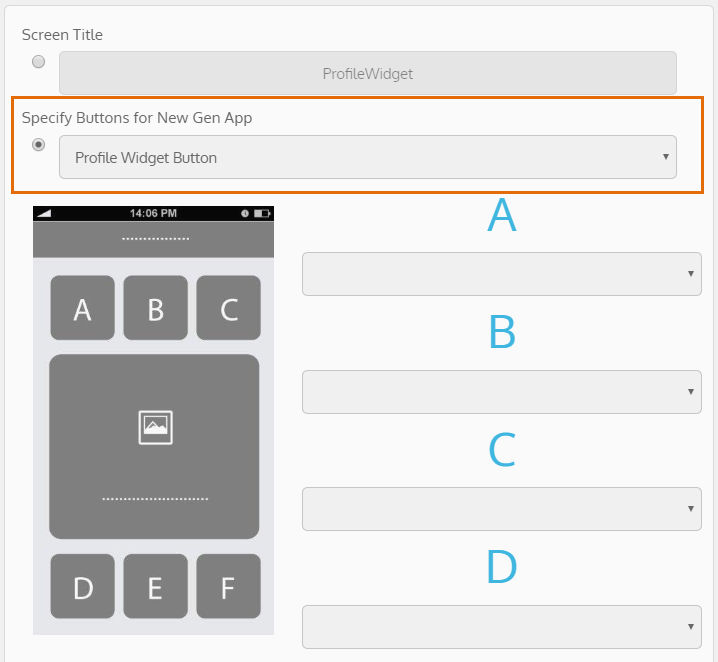
- Select any random layout that contains custom tiles (A, B, C, etc. in the preview).
- Select Specify Buttons for New Gen App, and then select which buttons (ex: Header Buttons).
NOTE: To select buttons for a tiles widget, choose any of the 3 custom screens for tiles widget buttons (ex: Tiles Widget Button 1) and then select the corresponding custom screen when you create the tiles widget.
6. Select layout blocks for A, B, etc. (according to the number of buttons you want to show). If the chosen layout contains more tiles than you need, select Empty Block for the rest.
NOTE: For the profile widget, the custom button corresponds to tile A, the points button corresponds to tile B and the credit button corresponds to tile C (if there’s no custom button but only a points and/or credit button, A should be set to Empty Block instead).
NOTE: If you no longer want to display Header buttons, delete the corresponding custom screen.